How to Host Your Projects for Free?
Hello folks!! in this blog i would like to talk about the sites where one can host his/her web development projects for free. There are many free platform to host your projects, but in this blog we will mainly focus on Netlify and Heroku .Ok so lets get started with netlify first.
Netlify
About Nelify - netlify is a cloud based company which offers hosting and serverless backend services for your web development related projects and static sites. It helps its user to create very fast and secure websites.
so lets see the steps for hosting -
so the very first step is to sign up to netlify with your email Id, also don't forget to authorize your Github account with netlify. It will help you to easily access your uploaded repositories on github.
so after setting up your profile on netlify you can see a button named New site from Git. see the below image for reference.
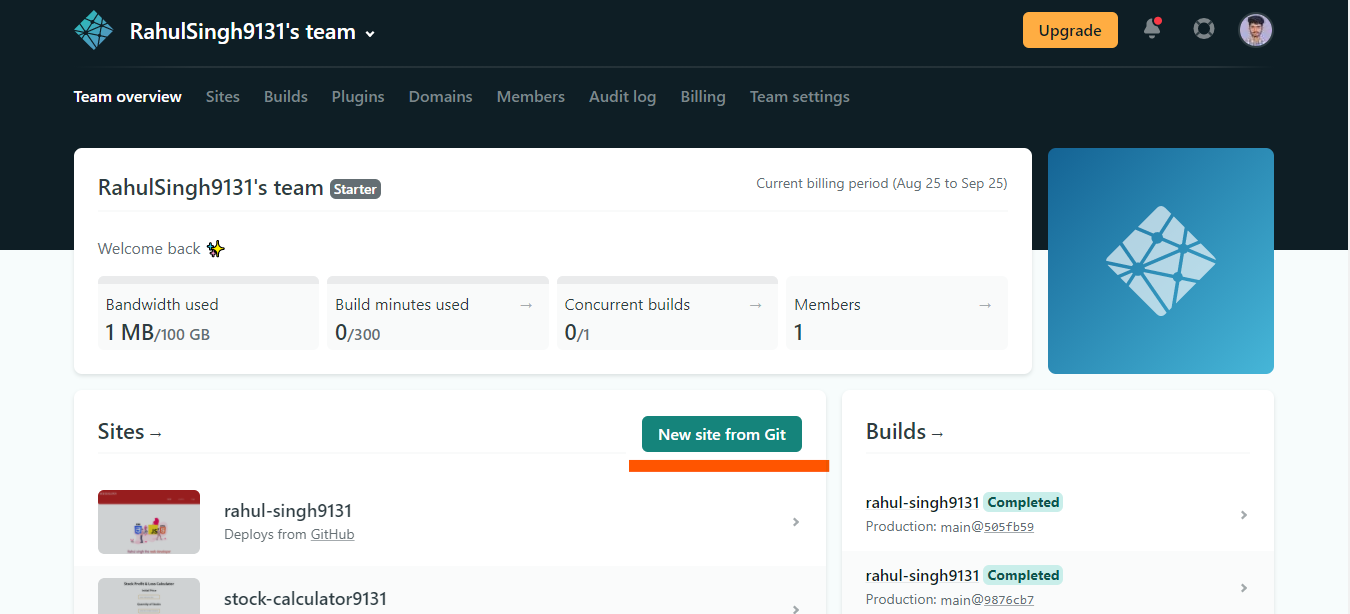
- After clicking the button , options of git provider will come, you can choose anyone of them where your site's source code is hosted. For exaple you choose Github.

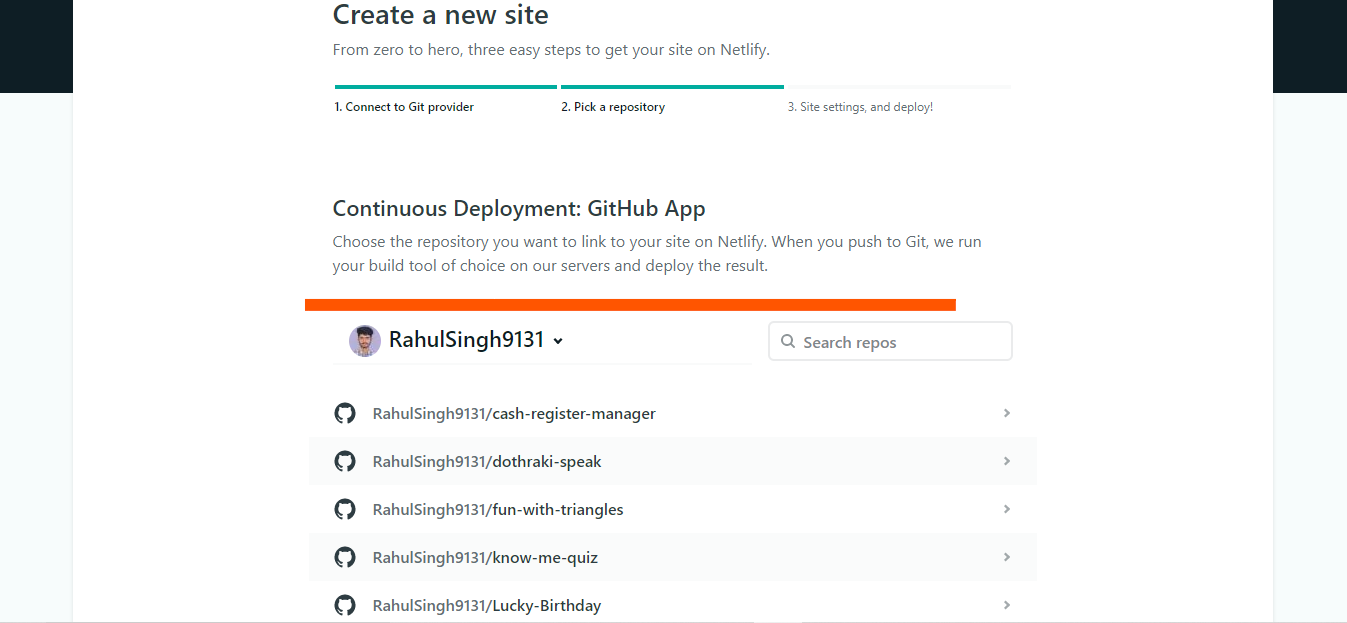
- after selecting the git provider ,you can select from the list of repositories you have pushed on github. This list will only come after you authorize Your netlify with your Github account.
- so now after selecting your required repo, you can set the basic build setting according to the requirement. Once when you are done with the setting you can see a button named Deploy site.
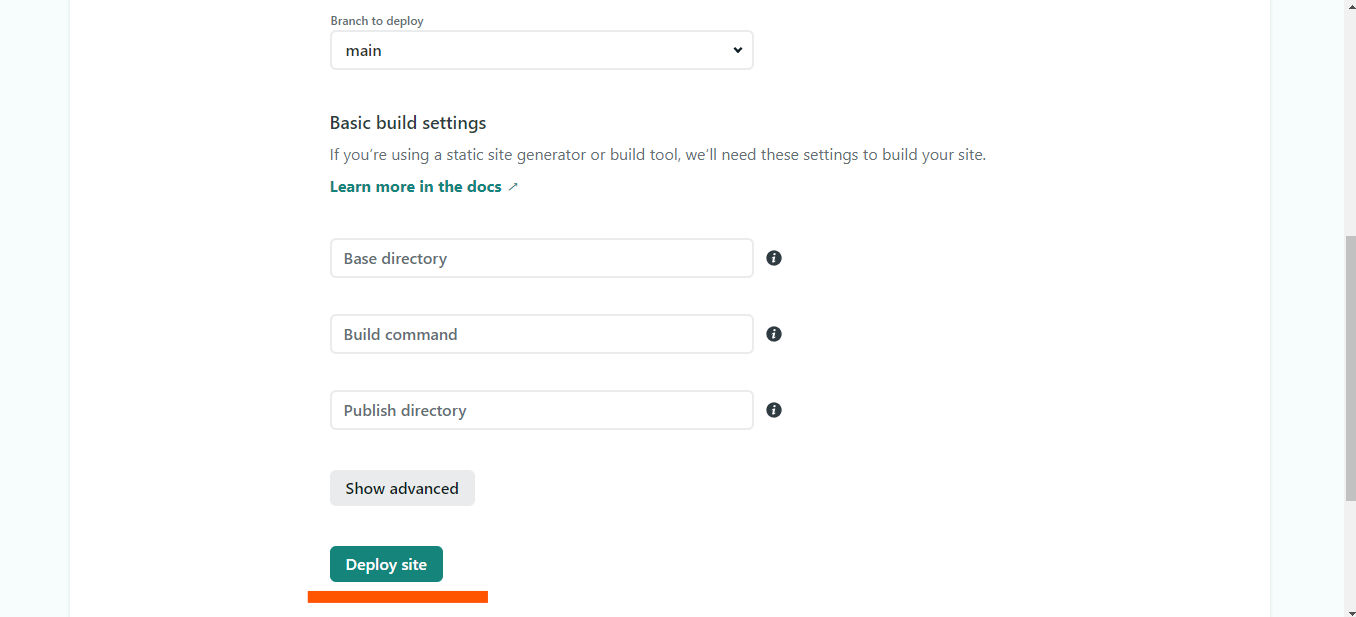
- once you clicked the Deploy site button, now wait for few seconds and see the magic. A message will appear that your site is deployed, now you can change your site name according to the need in the site setting.

- Now when everything is done open the link and see how your site looks. For example have a look at mine.
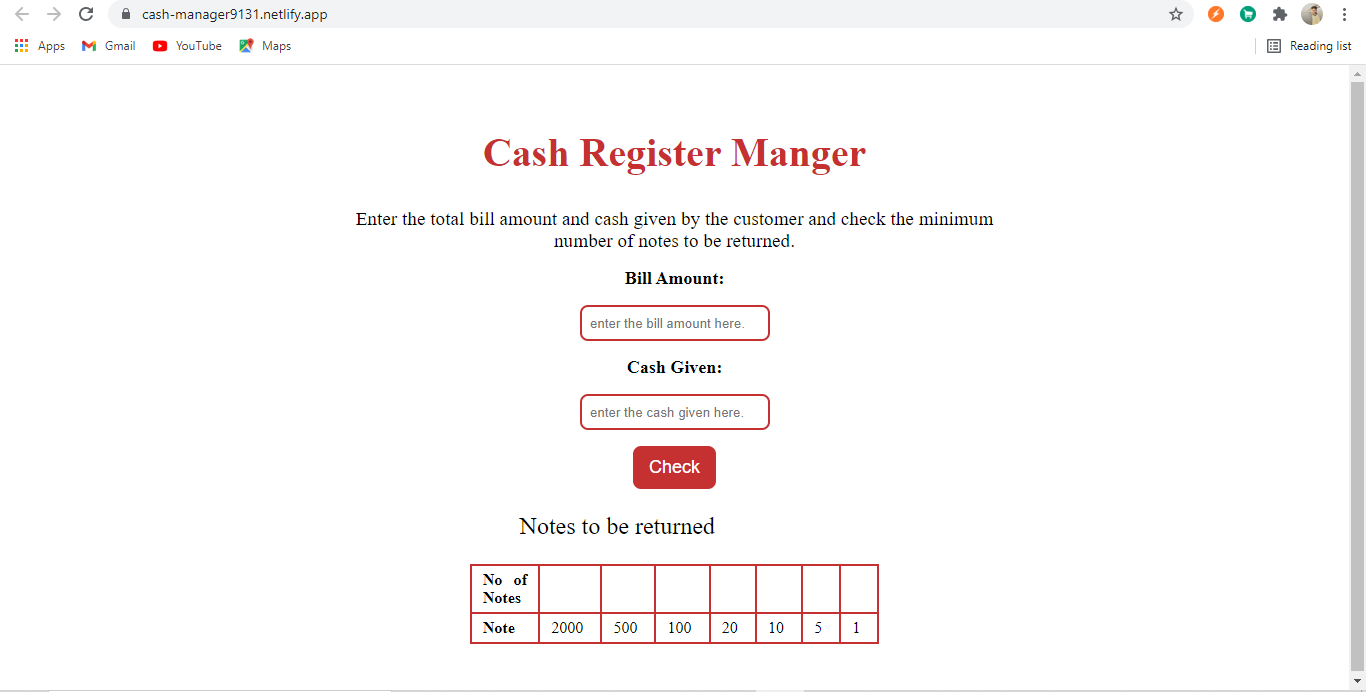
you can see my hosted project here with nelify- cash-register-manager
Heroku
About Heroku - Heroku is also a cloud based company which allows developers to host and manage their web development related projects for free. Hosting on heroku is quite flexible and easy to use just like netlify. so lets move on to the steps -
so the very first step is to make a genuine account on heroku and authorizing it with your github . This will help you to access your repositories on github, where you have uploaded your source code.
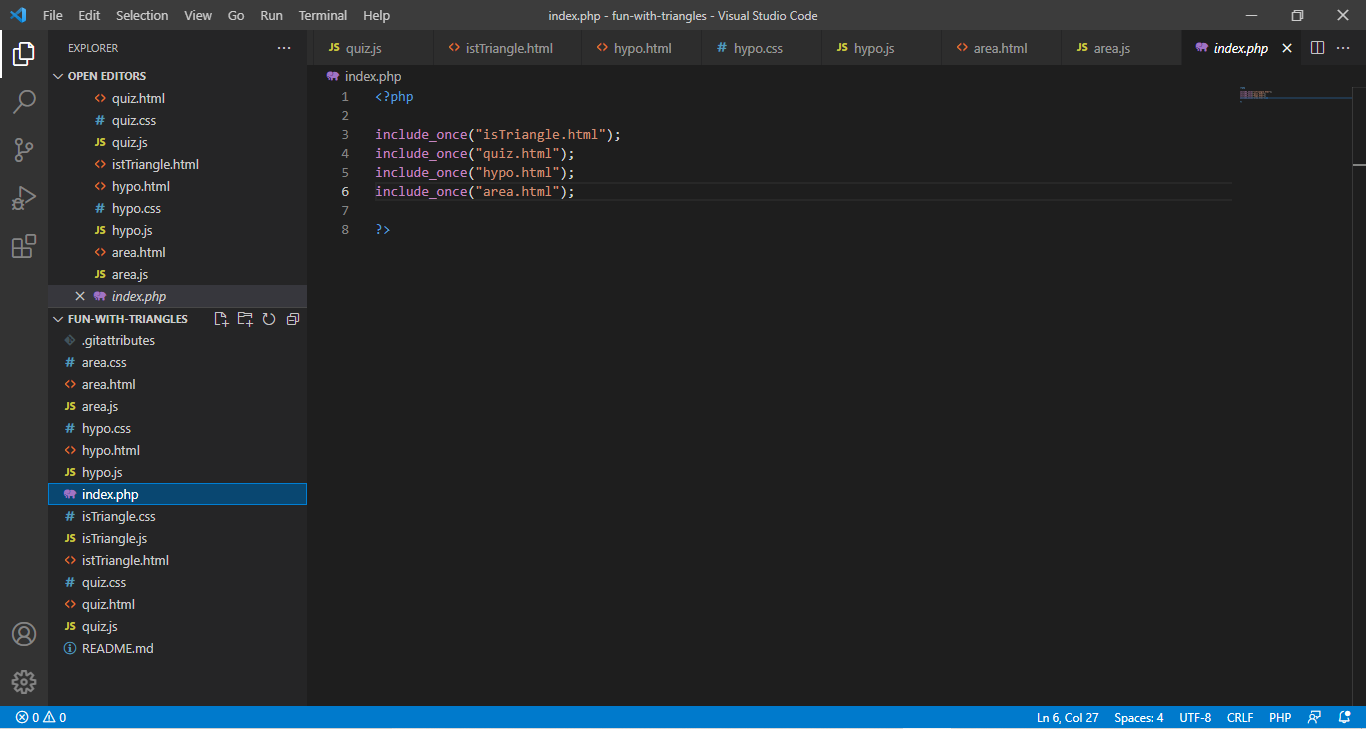
Also another thing which is important here is that one need to create a separate PHP file where user has to include all the HTML files of the project. The reason for this is that Heroku won't allow you to deploy an application which does not have a backend, so we first need to create a dummy backend file. for example see this.
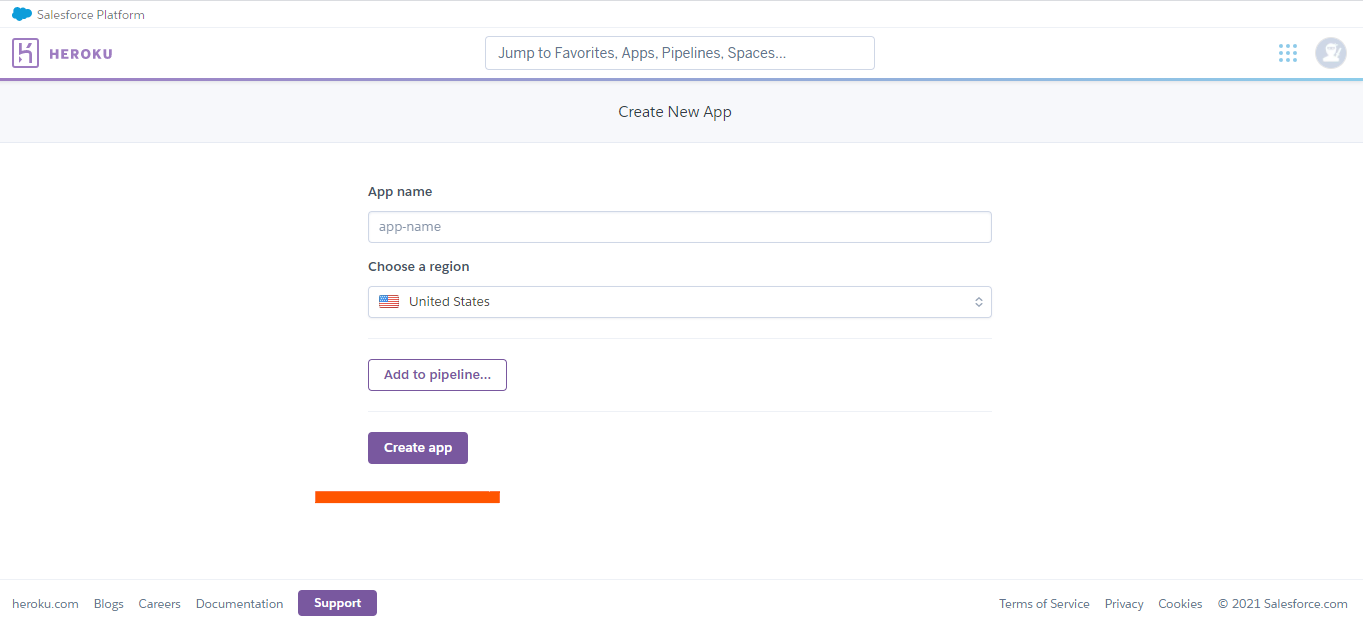
- Now in the next step go to your Heroku account and select the Create New App button. Now add the required details and click the button create app.
- Now select the deployment method where you have pushed your source code , now choose the repository name and deploy your site .
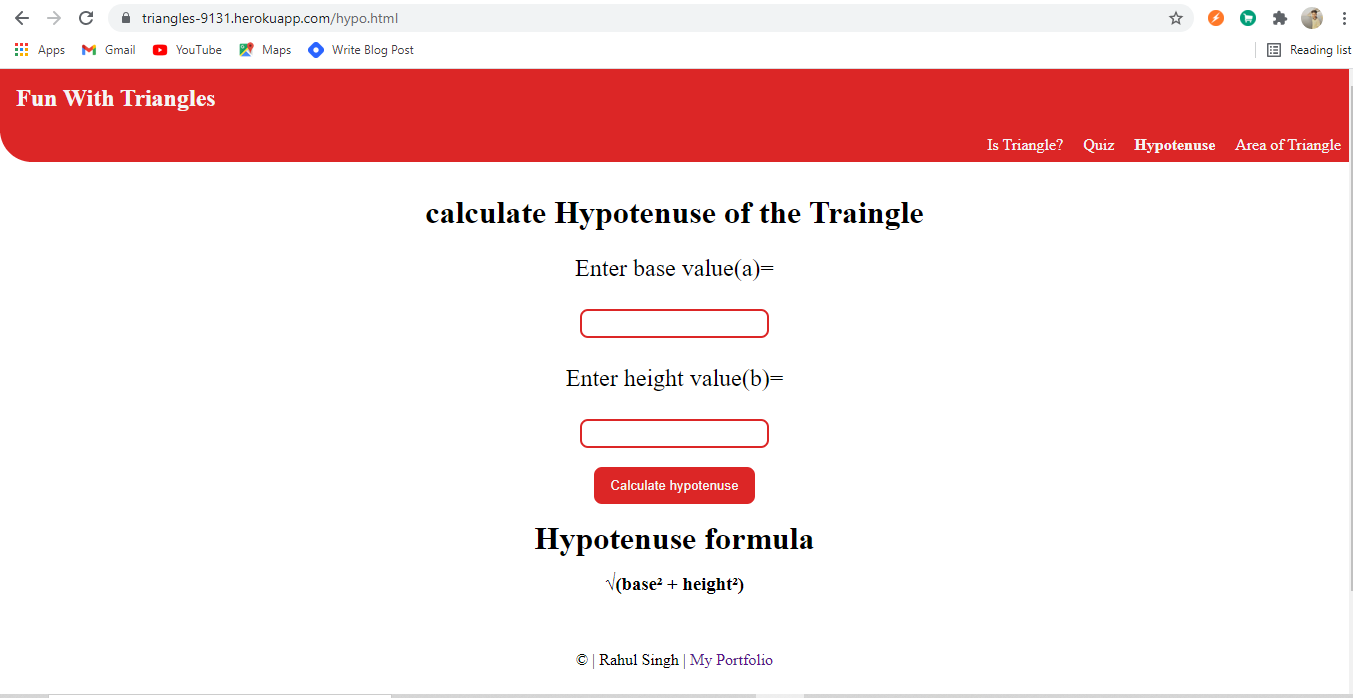
For reference have a look at my project Fun-with-Triangles which i have hosted using Heroku.
😊😊 thank you for reading...